- Canon Community
- Discussions & Help
- Printer
- Printer Software & Networking
- PIXMA PRO-200 Can't view printable area in Prof Pr...
- Subscribe to RSS Feed
- Mark Topic as New
- Mark Topic as Read
- Float this Topic for Current User
- Bookmark
- Subscribe
- Mute
- Printer Friendly Page
PIXMA PRO-200 Can't view printable area in Prof Print & Layout / Images being shifted
- Mark as New
- Bookmark
- Subscribe
- Mute
- Subscribe to RSS Feed
- Permalink
- Report Inappropriate Content
07-27-2024
01:43 PM
- last edited on
07-27-2024
01:47 PM
by
Arthur
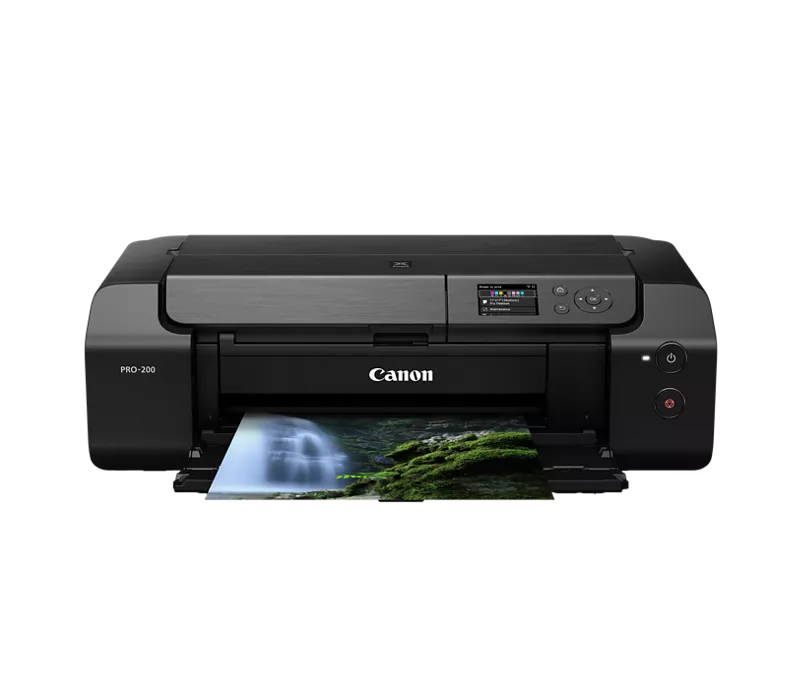
Hello! I'm trying to make prints using Professional Print & Layout and my PIXMA PRO-200 # All of my designs have no background and so I am trying to print them in a way that I can nest them together and reduce the number of cuts I need to make. I am placing the designs right at the edge of the print preview since there is no printed area that goes up to the edge, but when I print, everything is shifted over a bit and I can't cut it from the edge of the page.
What's confusing me the most is nothing happens when I check or uncheck "Display Printable Area" in Other Settings. I also came into this issue when printing a greeting card. I don't know what the print border measure is or how to set it, so in my design I created a border of .25 inches, but when it printed it seemed to shrink the design, so the top edge had a margin of exactly .25 in but the inner borders of the design were shrunk to a bit less than .25 in.
I know that in my print designs (the 4x4 in this example) they are printing at the correct size, since I've tested them with crop marks and the print size is correct, but I want to be able to not use crop marks and measure my cuts from the edge of the paper.
I just want to know what the printable area is!
- Mark as New
- Bookmark
- Subscribe
- Mute
- Subscribe to RSS Feed
- Permalink
- Report Inappropriate Content
08-21-2024 11:56 AM
Hi,
Based on this type of issue, I recommend reaching out to Canon support. You will need to register your Canon gear HERE to access additional support options.
We look forward to hearing from you.
11/12/2024: EOS Webcam Utility Pro - Version 2.3 is available
10/01/2024: Firmware update available for EOS C400 - Version 1.0.1.1
09/26/2024: New firmware updates are available.
EOS R5 Mark II - Version 1.0.1
EOS R6 Mark II - Version 1.5.0
08/09/2024: Firmware update available for RC-IP1000 - Version 1.1.1
08/08/2024: Firmware update available for MS-500 - Version 2.0.0
07/01/2024: New firmware updates are available.
05/15/2024: COMING SOON!
The EOS R1
04/16/2024: New firmware updates are available.
RF100-300mm F2.8 L IS USM - Version 1.0.6
RF400mm F2.8 L IS USM - Version 1.0.6
RF600mm F4 L IS USM - Version 1.0.6
RF800mm F5.6 L IS USM - Version 1.0.4
RF1200mm F8 L IS USM - Version 1.0.4
03/27/2024: RF LENS WORLD Launched!
Canon U.S.A Inc. All Rights Reserved. Reproduction in whole or part without permission is prohibited.


